Free shipping £150+ Orders
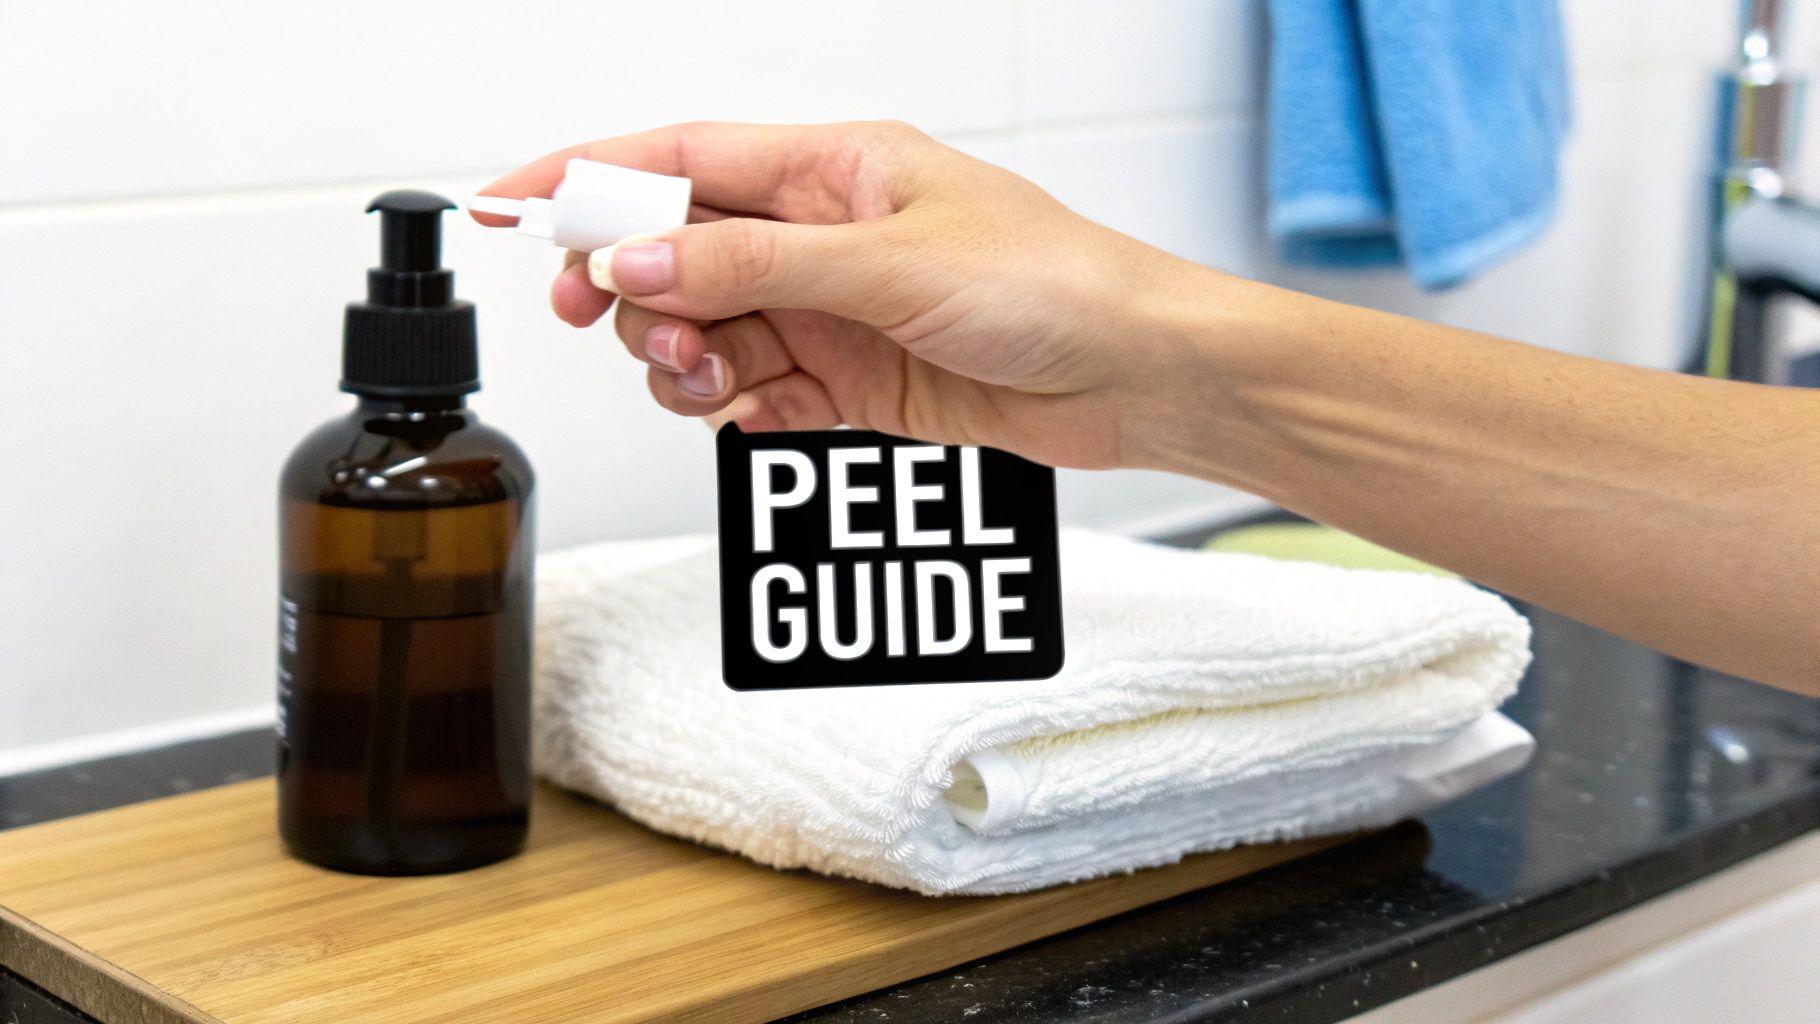
Best at home chemical peel: Safe picks & tips
The idea of a single “best” at-home chemical peel is a myth. The best one is simply the one that’s right for your skin. If you’re dealing with sensitive or breakout-prone skin, an acid like mandelic or salicylic is often a brilliant choice. On the other hand, if fine lines are your main concern, a glycolic acid formula will likely be your best friend. It all comes down to understanding which acid is built to tackle your specific goals.
The Search for Your Perfect At-Home Peel

Let’s be honest, finding the ‘best’ at-home chemical peel is a deeply personal journey. It’s not about chasing a single miracle product, but about finding a formulation that works in harmony with your skin. This guide is your roadmap to doing just that—demystifying the world of peels so you can achieve brighter, smoother skin safely and effectively.
Think of it like restoring a piece of antique furniture. You wouldn’t take a harsh industrial sander to a delicate veneer, would you? Of course not. You’d carefully and gently remove the old, dull varnish to reveal the beautiful wood grain underneath. An at-home peel does something similar for your skin, using specific acids to dissolve the “glue” holding dead cells together, unveiling the fresh, radiant complexion hiding just below the surface.
Why At-Home Peels Are Gaining Popularity
The dream of getting professional-level results without leaving the house has sent the popularity of at-home treatments soaring. This isn’t just a feeling; the numbers back it up. The UK chemical peel market brought in around USD 104 million in 2022 and is expected to hit USD 178.9 million by 2030.
What’s really interesting is that the ‘fruit peel’ segment, which includes the gentler acids often found in at-home formulas, holds the biggest slice of the market. This clearly shows that people are looking for gentler, less invasive options. You can read more about these market trends on Grand View Research.
This shift towards accessible, high-quality skincare puts you in the driver’s seat. With the right knowledge, you can confidently choose and use a peel that gets right to the heart of your skin concerns.
A great at-home chemical peel should deliver noticeable results without compromising your skin’s health. The aim is controlled exfoliation, not aggressive irritation. It’s about working with your skin, not against it.
Your Path to a Radiant Complexion
I know, navigating all the options can feel overwhelming, but it doesn’t have to be. We’re going to break down everything you need to know, step by step, to set you on a clear path to success. By understanding the fundamentals, you can truly elevate your skincare routine and unlock that radiant complexion you’ve been after.
This guide will help you:
- Identify Your Skin’s Needs: Figure out if your main focus is on acne, ageing, sensitivity, or uneven pigmentation.
- Decode the Ingredients: Finally understand the difference between AHAs, BHAs, and PHAs so you can read labels like a pro.
- Apply Safely: Master the step-by-step process for a safe, effective treatment every single time.
- Choose with Confidence: Find your perfect match, like the expertly formulated options from Avera Cosmetic, designed to bring professional results right to your doorstep.
Getting to Grips with Skincare Acids
To pick the right at-home chemical peel, you first need to understand the language of skincare acids. It might sound like a trip back to chemistry class, but I promise it’s much more straightforward than you think. Let’s break down the essential “alphabet” of chemical peels: AHAs, BHAs, and PHAs.
Picture your skin as a beautiful wooden floor. With time, it collects dust, scuffs, and a dull film that hides its natural lustre. You wouldn’t use just one tool to restore it, would you? You’d grab a polisher for the surface, a finer brush for the grooves, and a gentle conditioner to finish the job. Skincare acids work in a very similar way, each designed for a specific task.
AHAs: The Surface Polishers
Alpha-Hydroxy Acids, or AHAs, are water-soluble molecules that get to work right on the surface of your skin. Their main job is to dissolve the “glue” that holds dead skin cells together, effectively polishing away that dull, tired top layer. What’s left behind is brighter, smoother, and more even-toned skin.
They are the perfect choice for tackling concerns like:
- Dullness and a lack of radiance
- Uneven or rough skin texture
- Fine lines and surface wrinkles
- Mild sun damage and hyperpigmentation
The most well-known AHA is Glycolic Acid. Because it has the smallest molecules of the bunch, it gets to work quickly and powerfully, making it a fantastic option for addressing signs of ageing. Lactic Acid, which originally comes from milk, is its gentler cousin. Its molecules are a bit bigger, so it works more slowly and is less likely to cause irritation. As a bonus, it also helps hydrate the skin.
BHAs: The Pore Cleaners
Beta-Hydroxy Acids, or BHAs, are the deep-cleaning specialists in the world of skincare. Unlike AHAs, these acids are oil-soluble. This unique quality allows them to slip past the oils on your skin’s surface and travel deep into your pores to break down all the gunk—sebum, dead skin cells, and debris—that causes blackheads and breakouts.
The undisputed champion here is Salicylic Acid. It’s an absolute powerhouse for anyone with oily or acne-prone skin. Not only does it clear out existing blockages, but it also has anti-inflammatory properties that help calm down those angry, red blemishes. If your number one goal is clear, decongested skin, a BHA-based peel is your best bet. To really get it right, it’s vital to know the difference between key ingredients like Glycolic Acid vs. Salicylic Acid.
PHAs: The Gentle Conditioners
Polyhydroxy Acids, or PHAs, are the new kids on the block. Think of them as the gentle conditioners for your skin. Their molecular structure is much larger than that of AHAs, which means they can’t penetrate very deeply. The result? Extremely gentle surface exfoliation without the usual risk of irritation.
PHAs like Gluconolactone and Lactobionic Acid also double as humectants, meaning they pull moisture into the skin. This makes them a perfect match for anyone with very sensitive, dry, or reactive skin—even those with conditions like rosacea who might have thought chemical peels were completely off the table.
The “best” acid is entirely relative to what your skin needs. A brilliant resurfacing peel for mature skin could be a total disaster for someone with sensitive, acne-prone skin. Understanding these acid families is the first and most important step toward making a truly informed choice.
Mandelic Acid: The Unique Hybrid
And then we have Mandelic Acid, a fascinating AHA that acts a bit like a BHA. It’s derived from bitter almonds, and its molecule is larger than Glycolic Acid’s, so it penetrates the skin more slowly and gently. At the same time, it has oil-soluble properties and antibacterial effects, making it uniquely suited for treating acne, especially in sensitive skin types. We cover this in more detail in our guide on the astonishing ways a mandelic peel transforms your complexion. It’s a fantastic all-rounder for tackling breakouts, pigmentation, and fine lines with minimal irritation.
Now, you have the tools to decode any ingredient label. When you look at a professional-grade product from Avera Cosmetic, you’ll know instantly whether its formulation is designed for polishing, deep cleaning, or gentle conditioning—putting you firmly in control of your skincare journey.
To make it even simpler, here’s a quick reference table.
A Quick Guide to Skincare Acids
This table breaks down the main acid types, what they do, and which skin concerns they’re best at tackling.
| Acid Type | What It Does | Best For Skin Types | Common Examples |
|---|---|---|---|
| AHA | Exfoliates the skin’s surface to improve texture, brightness, and fine lines. | Normal, Dry, Sun-Damaged, Ageing | Glycolic Acid, Lactic Acid |
| BHA | Penetrates pores to dissolve oil and debris, clearing up acne and blackheads. | Oily, Acne-Prone, Congested | Salicylic Acid |
| PHA | Offers gentle surface exfoliation while hydrating the skin. | Sensitive, Dry, Rosacea-Prone | Gluconolactone, Lactobionic Acid |
| Hybrid | Combines gentle surface exfoliation with antibacterial and oil-soluble benefits. | Sensitive, Acne-Prone, Pigmented | Mandelic Acid |
With this knowledge, you can confidently identify which type of acid will deliver the results you’re looking for in an at-home chemical peel.
How to Choose the Right Peel for Your Skin
So, you’ve got the basics down on the different acid families. Brilliant. Now for the fun part: matching the right chemical peel to what your skin is actually telling you it needs.
Think of it like being a detective for your own complexion. You wouldn’t use a heavy-duty cleaner on a delicate surface, and the same logic applies here. Picking the right acid is the single most important step in finding the best at home chemical peel for you. Whether you’re dealing with stubborn breakouts, the first hints of ageing, or skin that reacts to everything, there’s a formulation out there that can genuinely help.
Let’s dive into some common scenarios.
For Blemish and Acne-Prone Skin
If your skin story involves a constant battle with breakouts, blackheads, and clogged pores, your hero ingredient is undoubtedly Salicylic Acid. As a BHA, it’s oil-soluble, which is a fancy way of saying it can get right down into your pores and dissolve the gunk (sebum and dead skin cells) that causes all the trouble in the first place.
It’s not just a one-trick pony, though. Salicylic acid also has anti-inflammatory properties, which helps calm down the redness and soreness that comes with active spots. For the annoying marks left behind after a breakout, a gentler acid like Mandelic can be a fantastic supporting act.
- Your Main Goal: Unclog pores, calm down inflammation, and keep future breakouts at bay.
- The Best Acid for the Job: Salicylic Acid (BHA) is the undisputed champion for deep-cleaning oily, congested skin.
- Also Worth a Look: Mandelic Acid (AHA) is great because it has antibacterial perks but is much gentler, making it a savvy choice if your acne-prone skin is also sensitive.
For Fine Lines, Sun Damage, and Uneven Texture
When your focus is on softening the signs of time and bringing back that healthy glow, the Alpha-Hydroxy Acids (AHAs) are your best friends. Glycolic Acid, in particular, is a powerhouse. Because its molecules are tiny, it gets to work quickly on the skin’s surface, encouraging fresh new cells to come through and giving your collagen production a little nudge.
This whole process helps to visibly smooth out fine lines, fade sun spots, and tackle any rough patches. The result? A brighter, more polished-looking complexion. If you want similar benefits but with a bit more hydration, Lactic Acid is a slightly gentler alternative.
By whisking away the dull, damaged top layer of skin, AHAs essentially give your complexion a fresh start. This helps light bounce off your skin more evenly, which is what gives you that radiant, healthy look we’re all after.
For Sensitive Skin or First-Time Users
The thought of putting acid on sensitive skin can feel a bit scary, I get it. But choosing the right formula makes all the difference. If your skin gets irritated easily or you’re just dipping your toes into the world of peels, you need an acid with a larger molecular size. This just means it sinks in more slowly and gently.
Mandelic Acid is a standout choice here, as it exfoliates well without causing a fuss. Even kinder are the Polyhydroxy Acids (PHAs) like Gluconolactone. They work only on the very top layer of the skin and have the added bonus of being humectants, meaning they pull moisture in.
This handy visual guide makes it easy to see which acid family—AHA, BHA, or PHA—is the best place to start based on what you want to achieve.
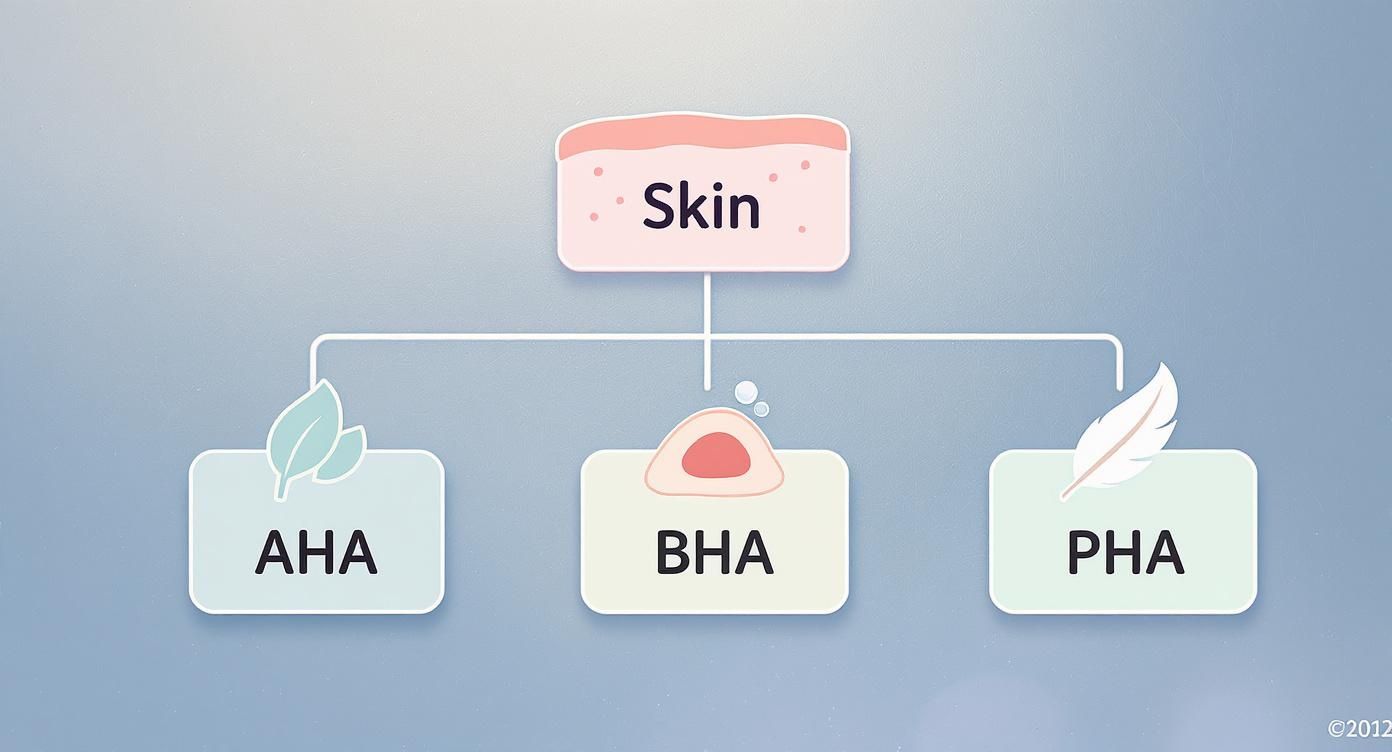
As the infographic shows, the first step is always to identify your main goal, whether that’s resurfacing, pore clearing, or just a gentle refresh.
By zeroing in on your primary concern—be it acne, ageing, or sensitivity—you can confidently pick the acid that’s built to deliver the results you’re looking for. Brands like Avera Cosmetic offer a fantastic range of professional-grade peels, so you can find a potent but safe option that’s perfectly suited to your skin. This targeted approach is the real secret to getting the most out of your at-home chemical peel.
Your Step-By-Step Guide to a Safe At-Home Peel
Trying a chemical peel for the first time can feel a little intimidating, but with the right approach, it’s a straightforward and incredibly rewarding process. The secret to getting those fantastic results safely is simply following a clear, structured plan.
This guide will walk you through every crucial stage, from getting your skin ready to the moments right after you’ve finished. Our aim is to swap any nerves for confidence so you feel completely in control of your treatment from start to finish.
Step 1: Prepare Your Skin
Before a single drop of peel touches your face, you need to set the stage. Think of it like preparing a wall for a fresh coat of paint—you wouldn’t just paint over dust and grime, would you? The same idea applies here.
First things first, give your skin a thorough cleanse to get rid of any makeup, oil, and daily pollutants. This step is vital because it allows the peel to penetrate evenly and do its job properly. Using a purpose-built cleanser, like Avera Cosmetic’s Pre-Peel Cleanser, is a brilliant move to make sure your skin is perfectly prepped and balanced for what’s next.
Once cleansed, your skin must be completely dry. Any lingering dampness can mess with the peel’s performance, so gently pat your face with a clean towel and give it a minute or two to air-dry before you move on.
Step 2: Perform a Patch Test
This is the one step you absolutely cannot skip, especially when you’re using a product for the very first time. A patch test is your safety net; it’s how you check for any unwelcome reactions before committing to a full-face application.
It’s crucial to understand how to properly patch test your skincare products before introducing anything potent like a chemical peel.
Here’s the right way to do it:
- Choose a discreet spot: Dab a small amount of the peel solution on a hidden patch of skin, like just behind your ear or on the inside of your arm.
- Follow the instructions: Leave the solution on for the time specified in the product’s directions, then rinse it off or neutralise it as instructed.
- Wait and watch: Keep an eye on the area for at least 24-48 hours. You’re looking for any signs of trouble—excessive redness, swelling, blistering, or intense irritation. A bit of tingling is normal, but actual pain is not.
If the spot looks calm and feels fine after the waiting period, you’re good to go.
Step 3: Apply the Peel
With your skin prepped and your patch test passed, it’s time for the main event. You’ll want to work quickly but carefully. Use a fan brush or a cotton pad to sweep a thin, even layer of the peel solution across your face, making sure to avoid the delicate skin around your eyes and lips.
Start your timer the moment you begin applying. For your first go with any new peel, always stick to the shortest recommended application time. You can slowly build up the duration in later sessions as your skin gets used to the acid.
What to Expect: It’s completely normal to feel a mild tingling, itching, or warming sensation as the peel gets to work. This is just a sign that the acid is actively exfoliating your skin. If, however, you feel any intense burning or pain, you need to neutralise and remove the peel immediately.
Step 4: Neutralise and Soothe
Once your timer dings, it’s time to stop the acid from working. Some peels are self-neutralising, but most at-home kits come with a neutralising solution or instruct you to rinse thoroughly with cool water. Double-check your product’s instructions to be sure.
After rinsing, gently pat your skin dry—absolutely no rubbing! Your skin will be feeling sensitive, so be gentle. The final touch is to apply a calming, hydrating serum or moisturiser to soothe your skin and kick-start the recovery process. Look for products with ingredients like hyaluronic acid, ceramides, or aloe vera to give your skin the comfort it needs.
Mastering Your Post-Peel Routine for Lasting Results
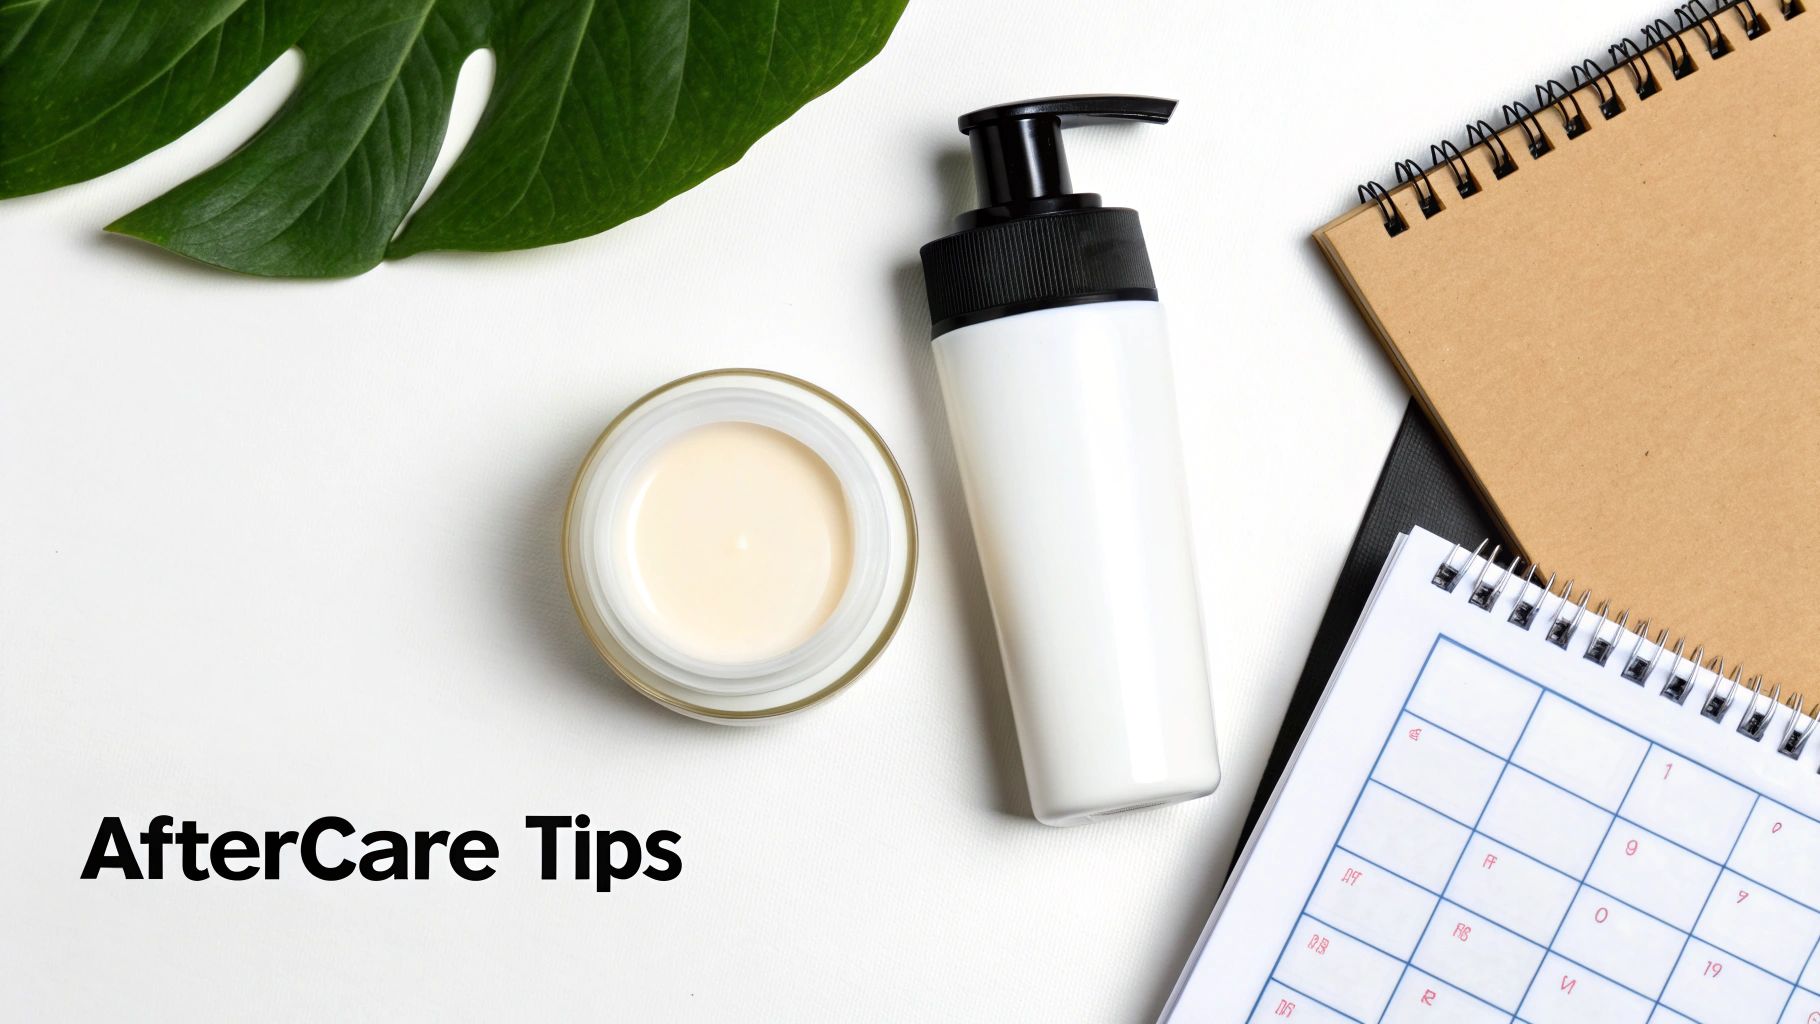
The success of your at-home chemical peel doesn’t end when you wash it off. In fact, what you do in the hours and days that follow is every bit as crucial as the peel itself. Nailing your aftercare is how you protect your freshly revealed skin and lock in those beautiful, glowing results you’re working towards.
Think of your skin post-peel as brand new. It’s delicate, a little sensitive, and more vulnerable to the outside world. Your job now is to gently nurture it back to strength. This all comes down to three things: hydration, protection, and a good dose of patience.
The Golden Rules of Post-Peel Care
Right after your treatment, your skin is crying out for two things: moisture and defence. A freshly exfoliated complexion is temporarily more prone to irritation and sun damage, which makes a gentle, supportive routine completely non-negotiable.
Here are the essential steps you absolutely must follow:
- Hydrate, Hydrate, Hydrate: Your skin has just gone through an intense exfoliating workout. It’s time to replenish that lost moisture with gentle, calming ingredients. Using a dedicated post-peel moisturizing hyaluronic serum is a brilliant move here, as hyaluronic acid is a superstar at drawing water into the skin without causing any fuss.
- Pause Other Actives: This is a big one. For at least 3-5 days after your peel, you have to hit pause on your other potent skincare. That means no retinoids (like retinol), no Vitamin C serums, and definitely no other exfoliating acids like AHAs or BHAs. Let your skin breathe.
- Sunscreen is Your Best Friend: Your new skin is incredibly sensitive to UV rays. You must apply a broad-spectrum sunscreen with at least SPF 30 every single day, without fail. Yes, even if it’s cloudy or you’re just staying indoors. This is the single most important step to prevent post-inflammatory hyperpigmentation (those pesky dark spots).
How Often Should You Use a Peel?
The goal is to create a sustainable routine that gets you results without pushing your skin too far. It’s interesting to see how attitudes have shifted; consumer feedback from UK beauty communities shows that over 60% of users now favour gentler, more frequent peels over aggressive, one-off treatments, citing safety as a major reason.
So, what’s the right frequency? For most at-home peels, starting with once a week is a great benchmark. If you’re using a very mild formula with Lactic Acid or PHAs, you might find you can build up to twice a week, but always listen to what your skin is telling you. For stronger Glycolic or Salicylic Acid peels, sticking to a weekly or even bi-weekly schedule is usually the wisest path.
Over-exfoliation is a very real problem. It can completely wreck your skin barrier, leading to redness, sensitivity, and breakouts—often the very things you’re trying to fix in the first place. Remember, consistency over intensity always wins.
Normal Reaction vs. Cause for Concern
Knowing what to expect can save you a lot of unnecessary worry.
- Totally Normal: A bit of mild pinkness for a few hours is fine. Your skin might feel a little tight, and you may see some light, flaky peeling a couple of days later. These are all good signs that the peel is doing its job.
- Time to Worry: If you experience an intense burning feeling that just won’t go away, or you see swelling, blistering, or a persistent, angry red rash, these are red flags. This indicates a negative reaction, and you should stop using the product immediately and consider speaking with a dermatologist.
By following these aftercare principles, you can confidently manage your skin’s recovery like a pro. This ensures every peel you do is a positive step towards a healthier, more radiant complexion.
Common At-Home Peel Mistakes to Avoid
Starting your at-home peel journey is a fantastic step, but it’s easy to get a little too enthusiastic. Even with the best of intentions, a few common slip-ups can stand between you and that radiant glow, or worse, lead to unhappy, irritated skin. Let’s walk through the most frequent pitfalls so you can sidestep them completely.
One of the biggest myths we see is the “more is more” approach. The temptation to apply a peel more often, leave it on longer, or jump straight to the highest strength is real, but it’s a fast track to trouble. This almost always leads to over-exfoliation, which strips your skin’s protective barrier and can cause redness, sensitivity, and even the breakouts you were trying to fix in the first place.
Ignoring Your Skin’s Unique Needs
Another classic mistake is picking a peel based on a rave review or what worked for a friend. That high-strength glycolic acid might be someone else’s holy grail, but on sensitive or rosacea-prone skin, it could be a recipe for irritation. Always, always choose an acid that’s right for your specific concerns and what your skin can actually handle.
Along the same lines, skipping the patch test is a gamble you just don’t want to take. It’s the most critical safety check, yet it’s the one most often ignored in the excitement to get started. Applying a new peel without testing it first is like jumping into a pool without knowing how deep it is—a risky move that could end in a nasty reaction.
Remember, the goal here is controlled, strategic exfoliation. It’s not a competition to see how much tingling you can stand. If a peel feels like it’s genuinely burning, that’s your skin sending an SOS, not a sign that it’s “working harder.”
When to Stop and See a Professional
Knowing the limits of DIY skincare is just as important as knowing how to apply the product. A bit of mild redness or some light flaking can be a normal part of the renewal process, but there are definite red flags that mean you’ve gone too far.
It’s time to put the brakes on and speak to a dermatologist if you experience any of these symptoms:
- Persistent, painful burning that doesn’t go away after you’ve neutralised and rinsed the peel.
- Blistering, oozing, or any scabbing on the areas you treated.
- Serious swelling or an angry-looking, inflamed rash.
- Dark spots (hyperpigmentation) that actually get darker after the skin has healed.
These are clear signs of a reaction that needs a professional eye. By steering clear of these common mistakes and listening to your skin, you can make sure your journey with at-home peels is safe, successful, and gets you the beautiful results you’re looking for.
Frequently Asked Questions About At-Home Peels
Even with all the best advice, it’s natural to have a few last-minute questions before you get started. Let’s run through some of the most common ones I hear, so you can feel completely confident about giving your skin this fantastic treatment.
Think of this as your final pre-peel checklist. We’ll cover the practical bits and pieces to ensure you’re ready to get those glowing results safely.
Can I Use an At-Home Peel on Rosacea or Eczema?
As a rule of thumb, it’s best to steer clear of chemical peels if you have active rosacea or eczema. These conditions mean your skin barrier is already compromised, and the acids in a peel can easily trigger more inflammation and make things worse.
Now, there are some incredibly gentle options out there, like PHAs, that might be suitable. However, this is non-negotiable: you must consult your dermatologist first. They’re the only ones who can properly assess if your skin is calm enough to handle even the mildest peel, or if a different treatment would be a much better fit.
How Long Until I See Results?
This is the big question, isn’t it? You’ll likely notice a lovely, immediate glow and a smoother feel to your skin right after the very first time you use a peel. That instant gratification is part of the appeal!
But for deeper concerns like fine lines, stubborn acne, or hyperpigmentation, consistency is everything. Real, noticeable change typically starts to show after about 4-6 consistent treatments, done weekly or every other week as your product advises. It’s a marathon, not a sprint; you’re building healthier skin over time.
Your skin renews itself on a cycle. Think of each peel as helping that process along, gradually revealing a brighter, more even-toned complexion. Don’t lose heart if you don’t see a huge transformation after just one go.
Is Physical Flaking or Peeling Normal?
For the vast majority of at-home peels, you shouldn’t expect your skin to physically peel off in sheets. What you might see is some very light flaking a couple of days after your treatment—sometimes called “micro-peeling.” This is perfectly normal and just a sign that the exfoliation is working as it should.
Heavier, more dramatic peeling is something you’d only see with medium-depth professional treatments done in a clinic. If an at-home product is causing your skin to peel excessively, or if it’s painful or blistering, stop using it immediately. That’s a clear sign it’s far too strong for your skin.
Should I Stop Using Retinol or Vitamin C?
Yes, absolutely. It’s crucial to give other powerful active ingredients a rest around your peel day. Plan to stop using your retinoids, other exfoliants (like acid toners or scrubs), and high-strength Vitamin C serums for at least 24-72 hours before and after your peel.
Giving your skin this short break is the key to preventing irritation and over-exfoliation. On those days, switch your focus to pure hydration and barrier repair. Load up on gentle, soothing ingredients like hyaluronic acid, ceramides, and niacinamide to help your skin recover beautifully.
Feeling confident and ready to find your perfect match? Explore the professional-grade formulations at Avera Cosmetic to discover a peel expertly designed for your unique skin goals. Start your journey to a radiant complexion today by visiting https://averacosmetic.com.